Android phones/tablets and PSMail support Microsoft’s ActiveSync protocol to get push notifications from your PSMail account on your mobile devices. Instructions for configuring your Android to PSMail are as follows. (NOTE: As an example, these screenshots are provided from an Android Motorola phone. Your phone or device might look slightly different.)
Step 1: On your Android home screen/Apps screen tap on the Email application.

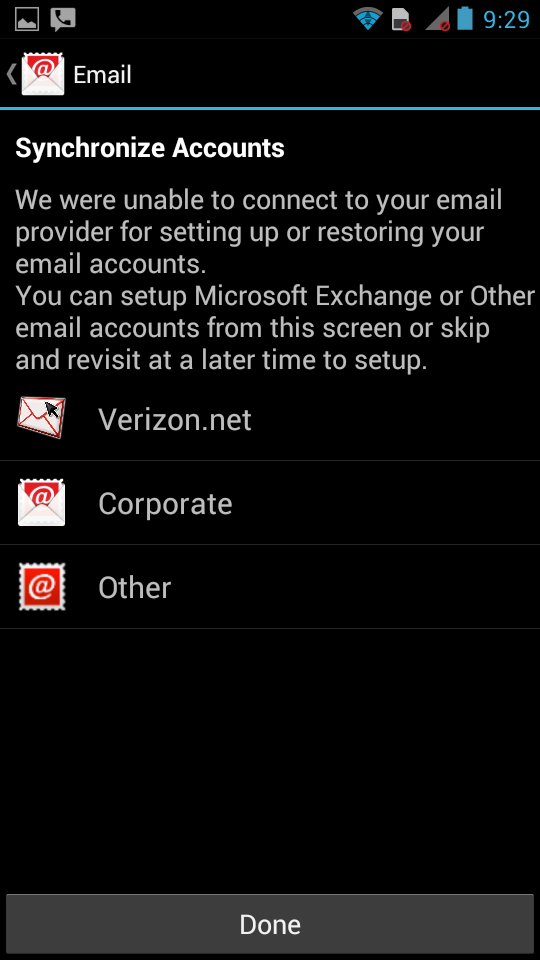
Step 2: Next, tap on Corporate to mimic an Exchange ActiveSync integration.
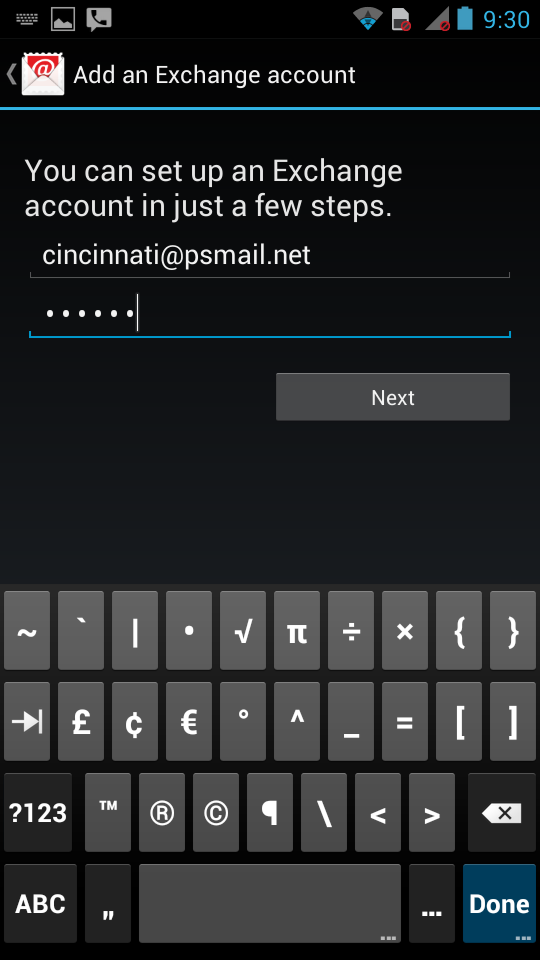
Step 3: Enter your PSMail primary email address and password when prompted (cincinnati@psmail.net is being used here as an example), and then tap Next.
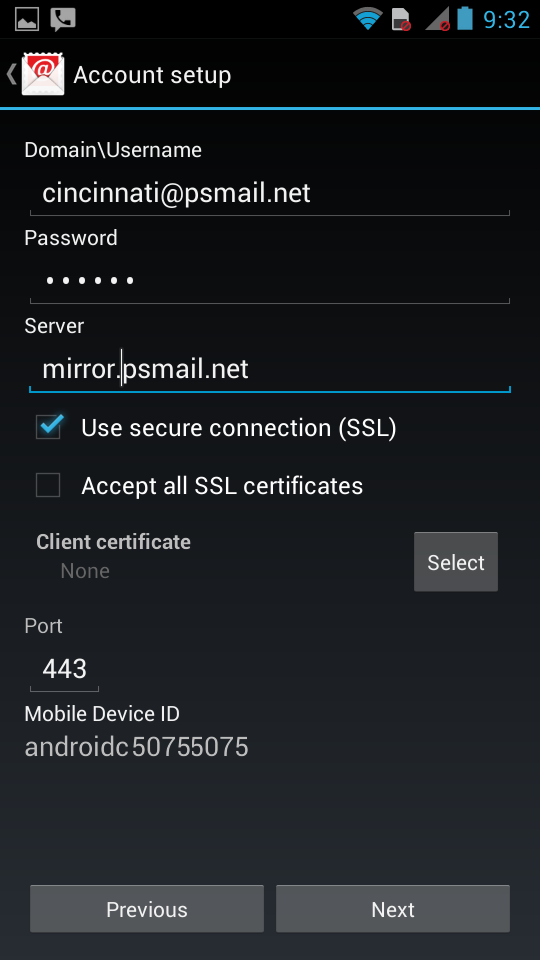
Step 4: On the next screen, for Domain/Username, enter your full PSMail address. For Password, enter your password again, and for Server enter “mirror.psmail.net.” The rest of the information can be left as default. When you’re finished, tap Next.
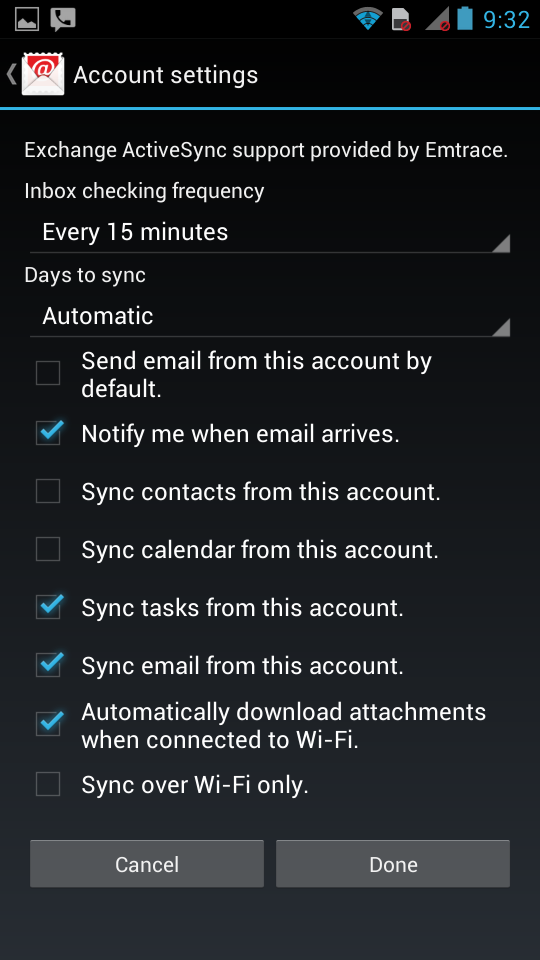
Step 5: On the next screen, select only the options related to Email and Tasks (calendar and contact synching to your Android is not supported at this time). If you pay for data and would like to minimize your data costs, choose Sync over Wifi only. Options such as Inbox checking frequency and Days to sync can be set to your own preference, though we recommend 15 minutes and 30 days for these settings respectively. Tap Done to initiate the connection test.
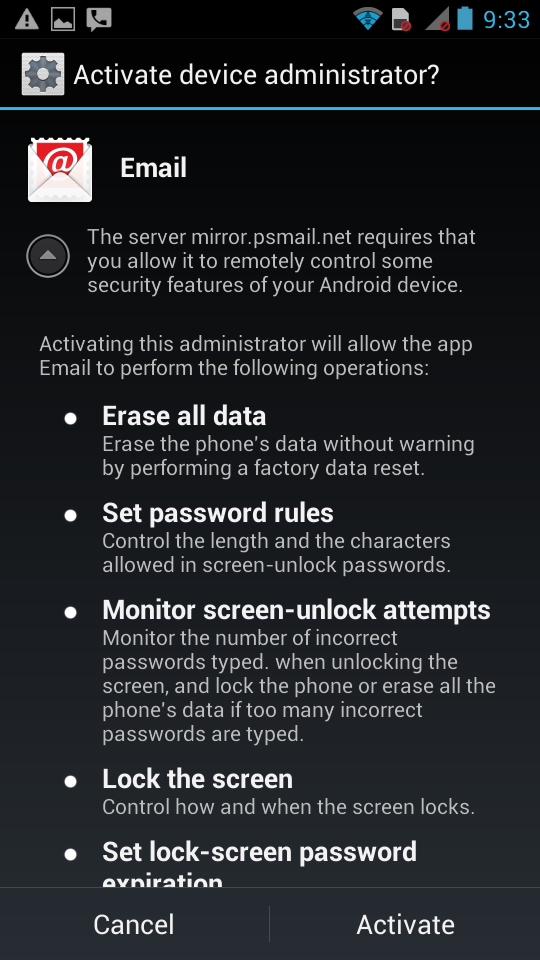
Step 6: The next screen shows possible administrative uses of push notification service. PSMail does NOT enforce these policies, so you can safely choose Activate.
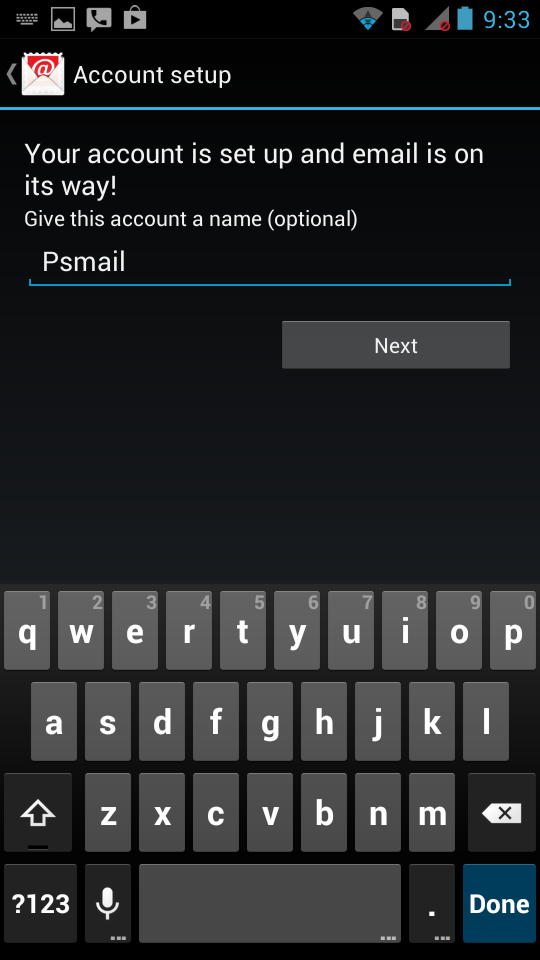
Step 7: The next screen will give you the option to provide a name for this account. “PSMail” is used as an example here. Once you’ve entered a name, tap Next.
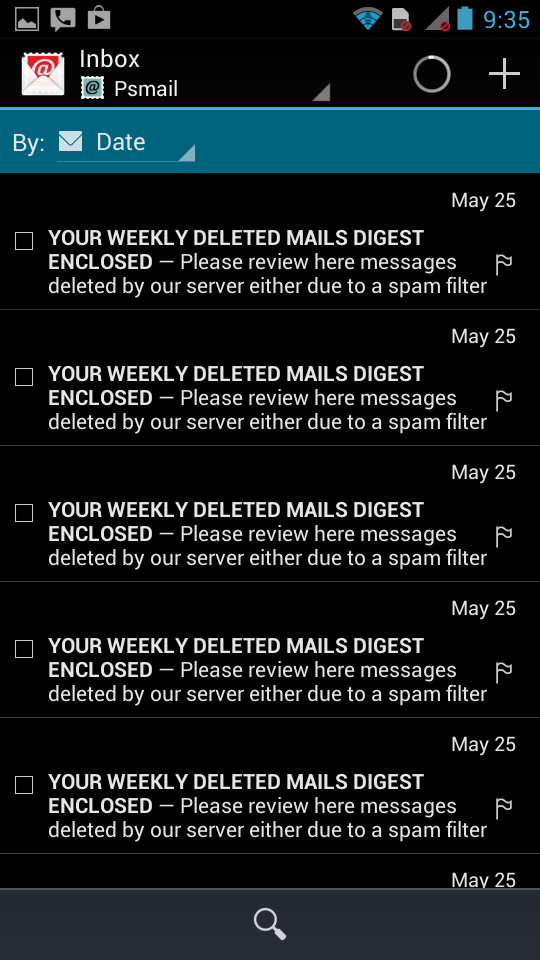
All finished! You will now see your emails synching to your Android device.
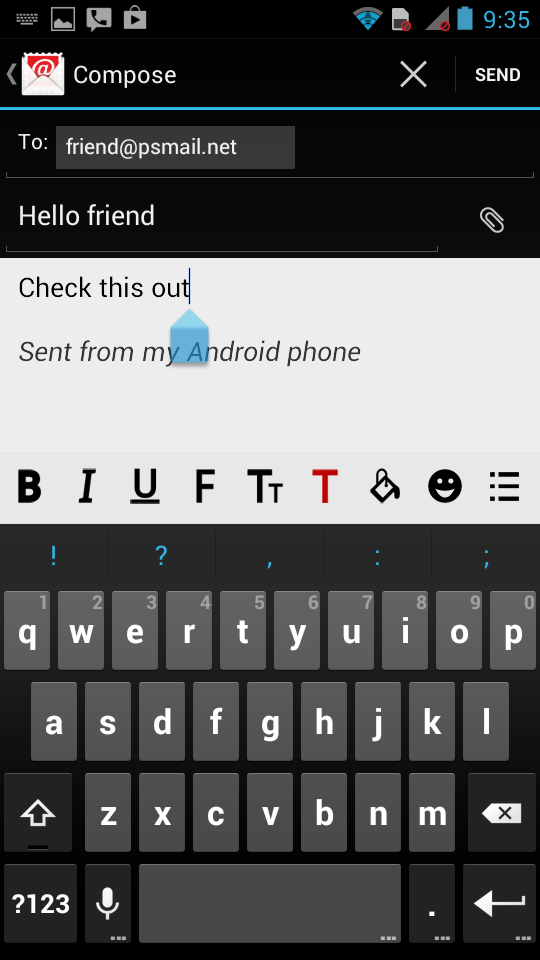
To compose an email, tap the + icon in the top right corner. Then tap Send once your’ve completed your message.
For questions, comments, or further help with ActiveSync and PSMail, please contact our helpdesk!