ZeroPass is a new feature we’re introducing to your PSMail account that will enable you to login to your account without the need for a password. PSMail has featured the app PSMail2FA as a way for users to take advantage ofTwo-Factor Authentication (2FA) in securing their account. This same app now supports ZeroPass – a feature that uses push authentication to reduce the risks associated with traditional passwords. In addition to the app, the only other requirement is a mobile device that can support biometric authentication.
PSMail2FA was introduced in 2012 to enable PSMail users to take advantage of 2FA technology by providing a randomly generated token that can be used to login to your account(see our tutorial video on PSMail2FA at https://www.youtube.com/watch?v=I1RDyfB8mKE).
In November of 2022, PSMail2FA issued a new release of the app that supports push authentication. Push authentication is a service which allows you to login by responding to a push notification that is sent to your mobile device. Simply register your PSMail2FA app enabled device with your PSMail account to allow remote notifications from PSMail to reach you. After you have done this you can use our ZeroPass technology to login without a password: simply go to PSMail’s login screen, click on the “Token/ZeroPass” tab, and enter your email address. You will receive a push notification, which you can approve using your mobile device’s Biometric authentication. When you respond with an “Approve” of your remote login, the login happens without a need for any password.
Lets walk you through these steps
- Install the PSMail2FA app from the Apple App Store or Google Play: https://info.psmail.net/xsupport/mobile-app/
- Once the app is installed, you will be prompted for “Remote Notification access.” Respond with “Allow access to PSMail2FA.”
- Now register the app with your PSMailbox account (see video instructions here: https://www.youtube.com/watch?v=I1RDyfB8mKE).
- Once your account is registered, you can test your login using the randomly generated token and a 4-digit PIN to login.Finally, enable biometric authentication (FaceID, touchID, FingerPrint, or FaceRecognition) access to the PSMail2FA app.You will then be able to see the biometric enabled view of PSMail2FA.
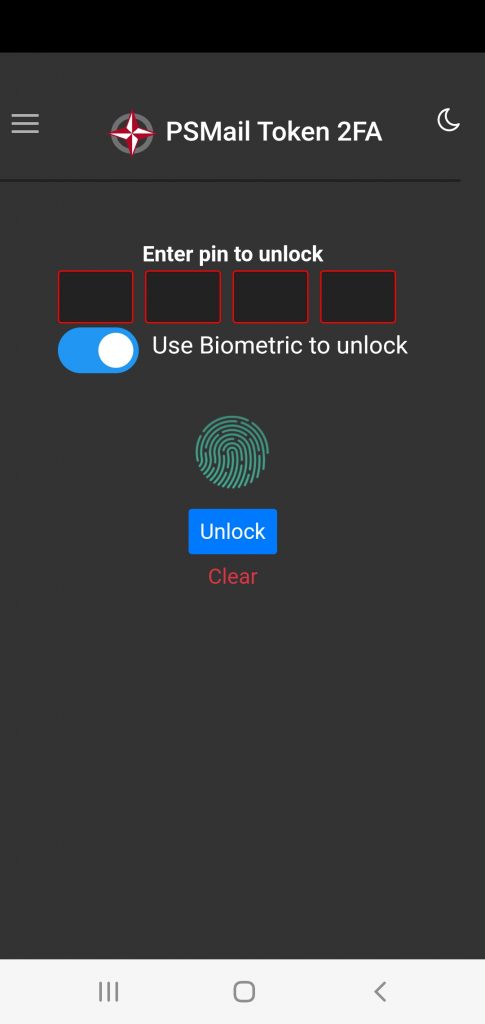
- Now your app will be able to receive remote notifications and respond with a biometric authentication approval/denial
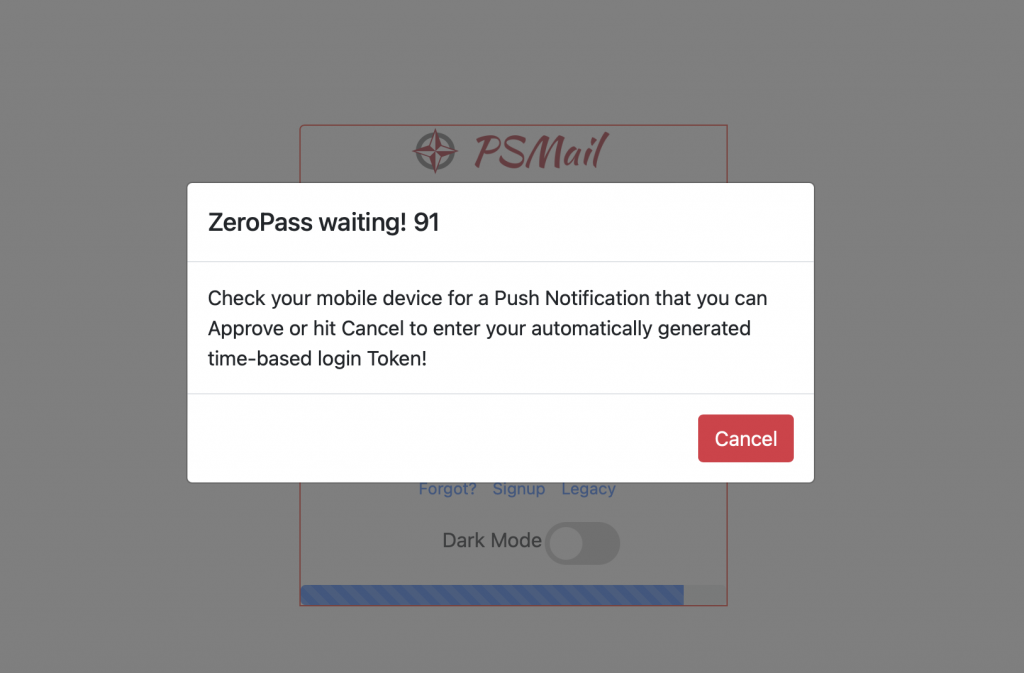
- On your computer, launch PSMail’s login page (https://mail.psmail.net/) and click on the “Token/ZeroPass Tab” at the top. Enter your PSMail email address and click “Enter.”
- You will see a prompt on your computer showing a countdown in seconds of the wait time for the push notification response(91 seconds in the example below).
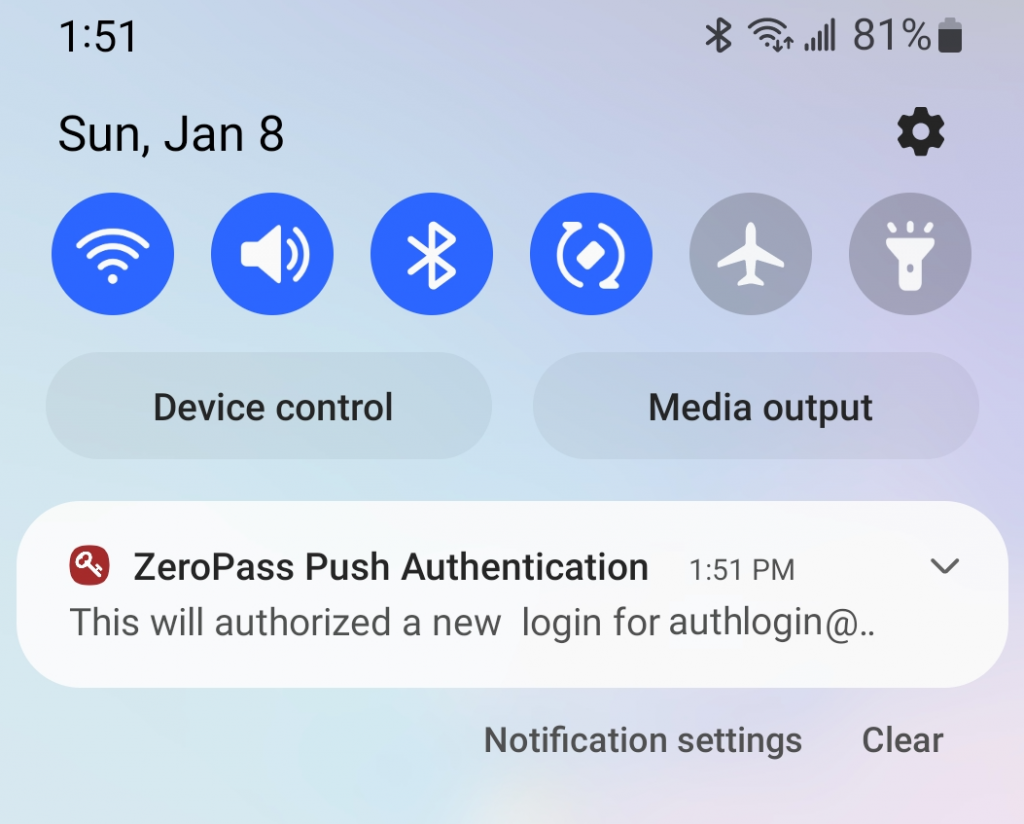
- You will now see a prompt on the PSMail2FA enabled device. Tap on the notification to launch the app.
- The app will launch with ZeroPass and a prompt. If you recognize the login request, “Approve” it. You can also fall back to entering the randomly generated token if you would not like to use push authentication.
- The “Approve Login” screen will appear as below. To allow a no password login for this session, just click on “Approve.” If you prefer entering the 2FA Token, you can click on the key icon.
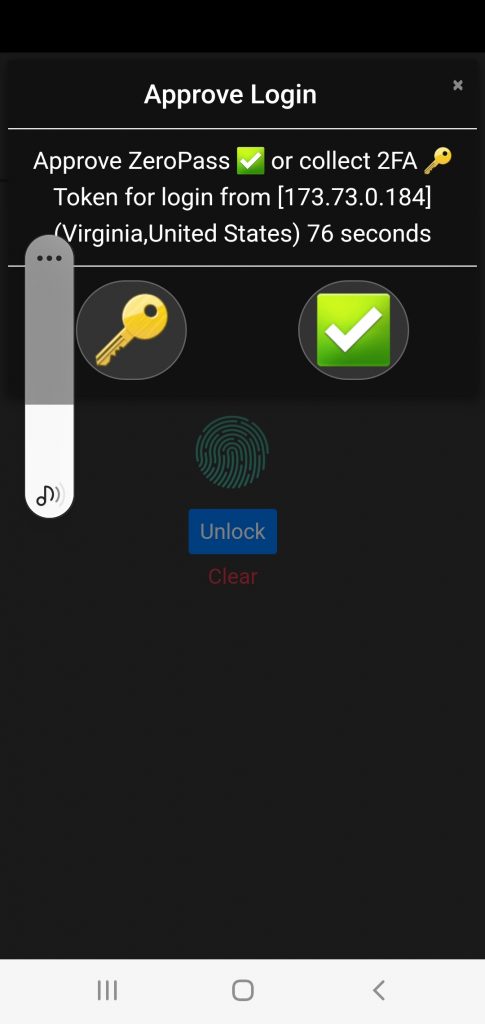
- If you receive a notification and you did not initiate a login request, you can just ignore the notification or not approve it. Notifications that do not get approved are logged on the server and tracked for any abuse.
- Once you have approved a login attempt, the computer login screen will automatically move to a new login session. Simply use the browser session and logout of the browser once you have finished.
Push authentication is safe to use and is monitored by our servers for any abuse. If you did not initiate a push login but see continued push notifications, please let us know at security@psmail.net. This will help us block any attempts to scan for your account.
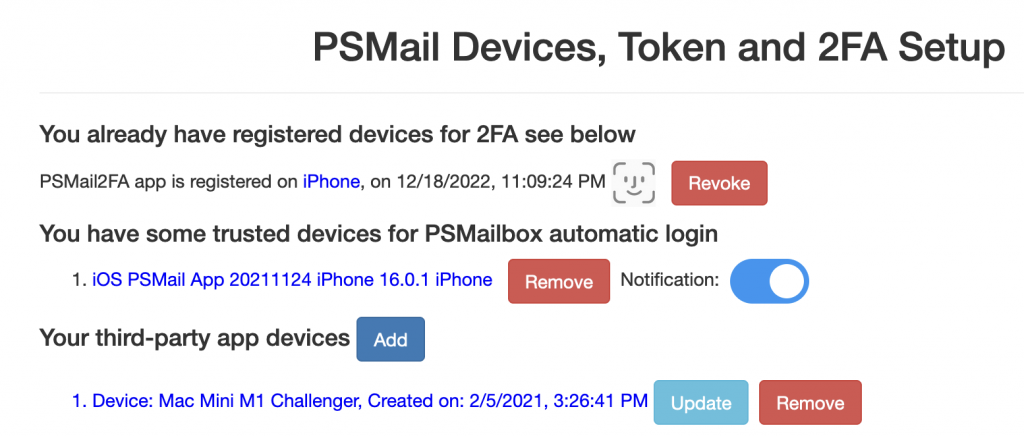
If you lose your device, please revoke that device’s permissions by going to https://mail.psmail.net and following the menus for “Manage” and then “Devices and 2FA.” Below is a sample screenshot that shows how a registered device can be “Revoked” to remove access. In the example below the device is an iPhone with FaceID enabled.
